Migrate from Forestry
Introduction
TinaCMS can be added to your site locally. In this doc, we'll guide you through the local setup, as well as editing on your production site.
Getting Started
Note: This Tina Migration will change your site's content files. Please back up your site's content before proceeding. This is best done by doing a git commit before proceeding.
From within your site's directory, run:
git commit -am "backup"
Then, run the migration command:
npx @tinacms/cli@latest init
This will ask you a few questions. When it asks you if you want to migrate your forestry folder please answer y for yes.
Migrating your content
This will migrate your content from Forestry to TinaCMS. It will create a tina/config.{ts,js} that will contain the setup for Tina as well as the schema for your content. However, this migration will not be perfect. You will have to make some changes to your site to get it working with TinaCMS. We will go over these changes in the next section.
This migration tool takes each section in your .forestry/settings.yaml file and turns it into a TinaCMS collection. If one or more templates are defined in the section, it will create a TinaCMS template for each front matter template. If only one template is defined it will create a TinaCMS collection with fields
TinaCMS will use the label field in the .forestry/settings.yaml file as the name of the collection.
TinaCMS handles a few things differently that will cause you to have to make some updates to your site.
Here is a list of the changes that will need to be made to your site:
- You can only have alphanumeric characters or underscores in your field names, templates names, and collection names (This includes
-). You will likely have to update your template names in your content and code. See this doc for more details. - If you are using the "blocks" field see this doc for how to migrate your blocks.
Starting TinaCMS
You can start TinaCMS with:
npx tinacms dev -c "<your-dev-process>"
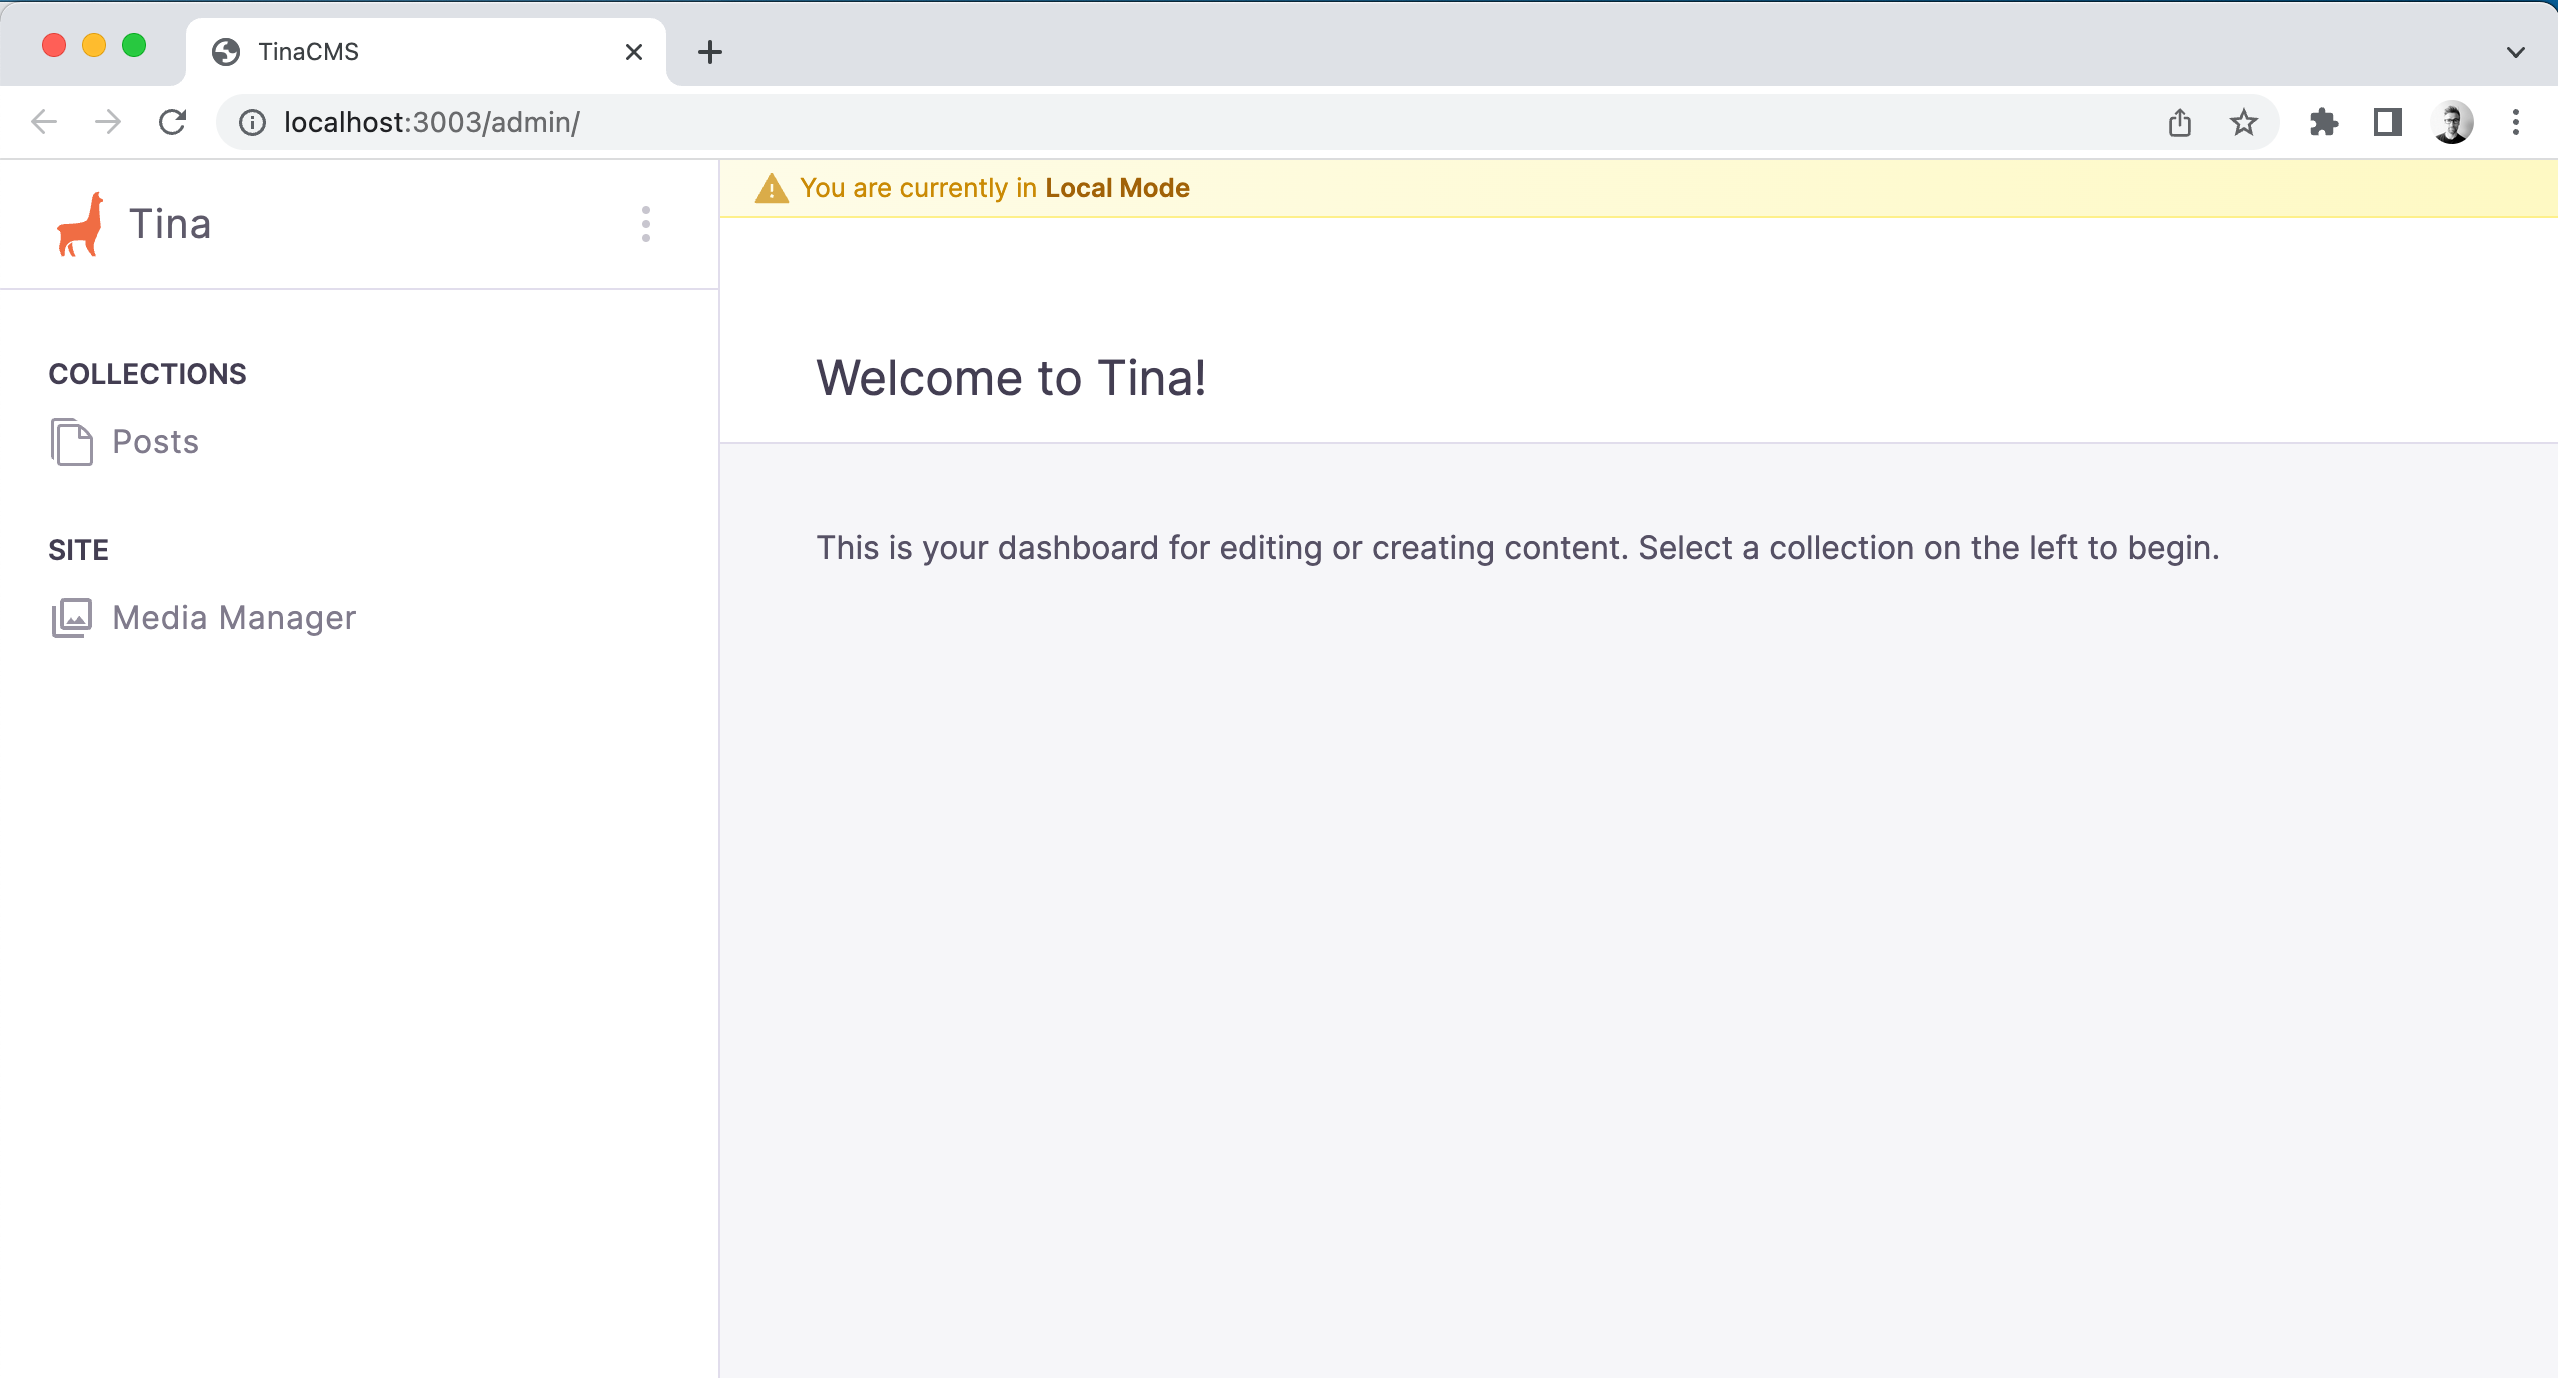
E.g: For a Hugo site, this might look like: npx tinacms dev -c "hugo server -D -p 1313"With TinaCMS running, navigate to http://localhost:1313/admin
^ The above default port may differ depending on your framework.Hint: If you are getting error when running this command please see the Common Errors page.
At this point, you should be able to see the Tina admin, select a post, save changes, and see the changes persisted to your local markdown files.
Model your content
In Forestry, your content models were defined as "Front Matter Templates", but in TinaCMS, these are called "Collections". These are defined in your tina/config.js file. The migration tool will have created a collection for each section in your .forestry/settings.yaml file but if you wish to update or change any of these you can do so in the tina/config.js file.
// ...schema: {collections: [{- name: "post",+ name: "<name-of-your-model>",- label: "Posts",+ label: "<readable-label-of-your-model>",- path: "content/posts",+ path: "<path-to-models-directory>"fields: [- {- type: "string",- name: "title",- label: "Title",- isTitle: true,- required: true,- },{type: "rich-text",name: "body",label: "Body",isBody: true,},// See https://tina.io/docs/schema/// for help modelling your fields],},],}// ...
You can lean more about content modeling in Tina's content modeling docs.
Deploy Tina to your site
Next we'll take you from editing with TinaCMS locally to editing in production with your team.
Step 1) Push your repo to git
Push your repo up to git, along with its new Tina configuration.
Step 2) Set up a TinaCloud project
In production, we'll want to make sure only authorized users can access your Tina admin, and make changes to your content. You can set up a TinaCloud project to handle this. Once your project is created, you'll also need to generate a read-only-token.
See our TinaCloud docs for help using TinaCloud.
Step 3) Connect the TinaCloud config to your site
Locally, in your tina/config.js file, set the following config properties:
export default defineConfig({// ...- clientId: null,+ clientId: "<your-tina-cloud-projects-client-id>",- token: null,+ token: "<your-tina-cloud-projects-token>"
You should apply the token above in an environment variable, instead of hard-coding it.
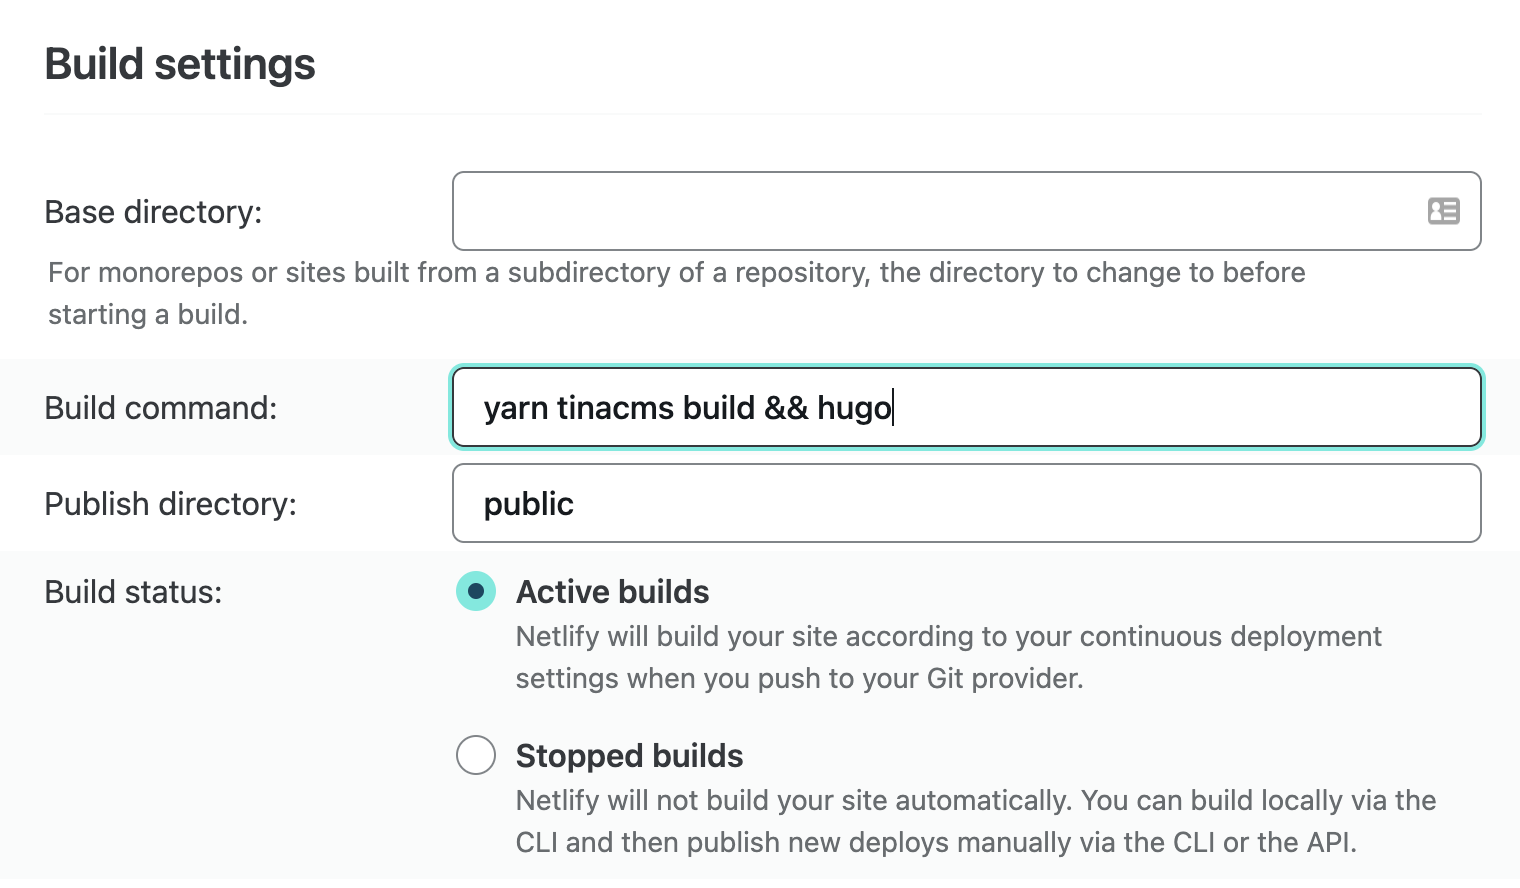
Step 4) Configure build commands
Tina's build will need to be apart of your site's static generation.
If you are using Netlify, this is configured in app.netlify.com/sites/<your-site-id>/settings/deploys
You should prepend yarn tinacms build && or npx tinacms build && to your site's build command:
For more information on deploying Tina with Netlify, Vercel, or GitHub Pages, see this doc
Step 5) Start using Tina!
With that set, you should be able to push your config to Git and start editing on production at <your-site-url>/admin!
Tip: If you have Netlify or Vercel previews set up, you can even edit on <your-preview-url>/admin.At this point, you'll be able to edit one of your site's files in production. Next we'll guide you through setting up some other Forestry-supported features like media, data files,
Comparisons
© TinaCMS 2019–2024